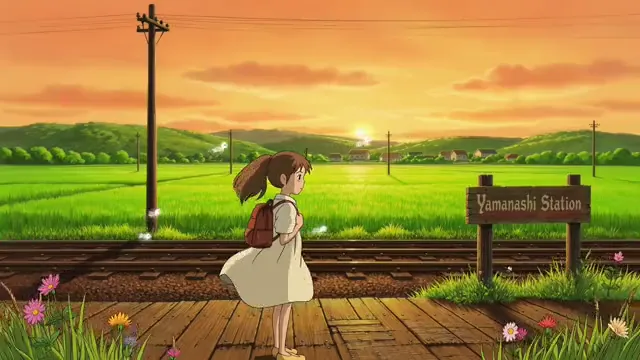
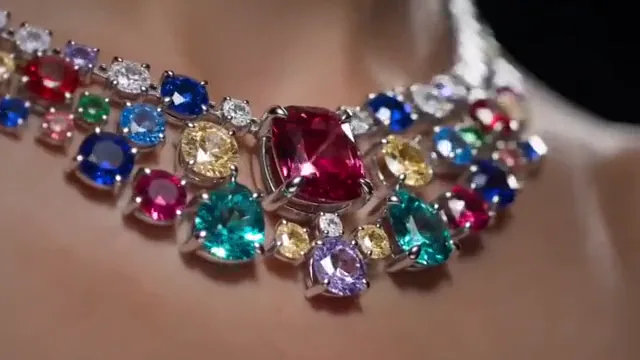
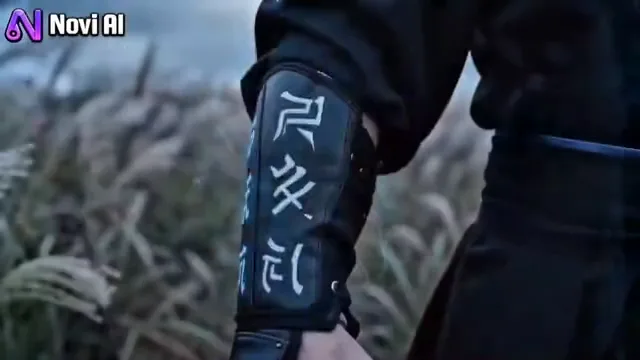
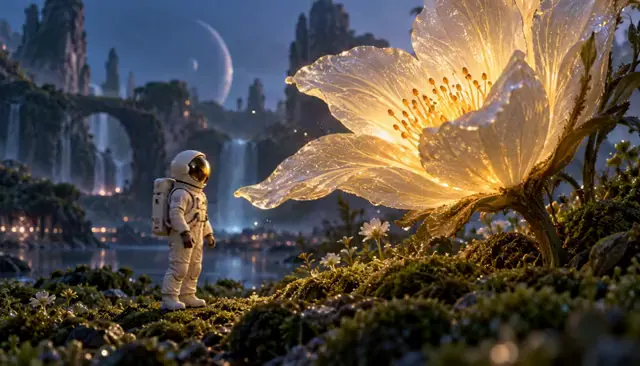
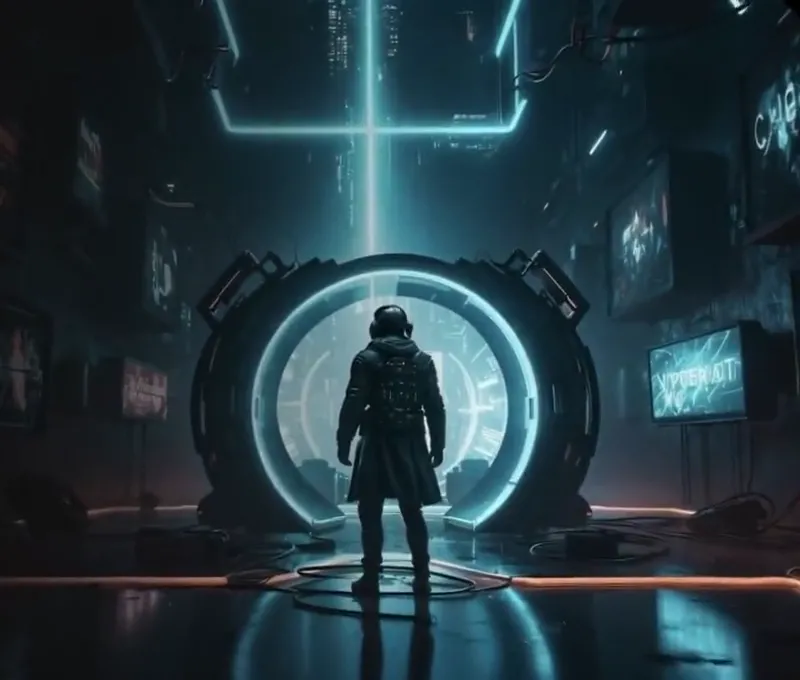
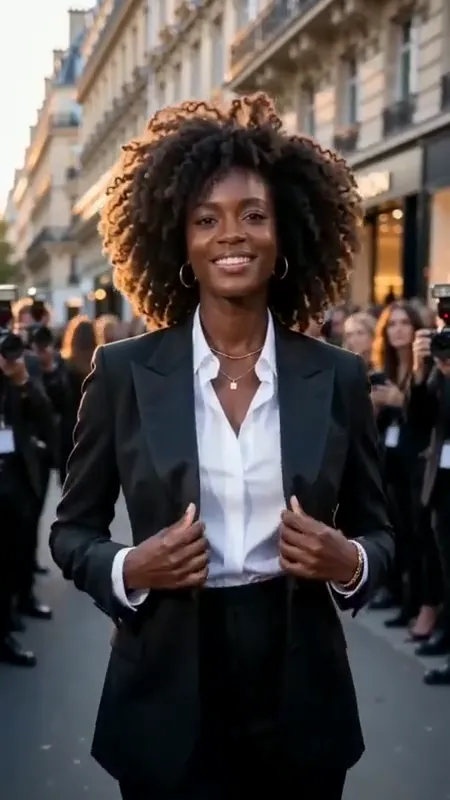
Arrange your images. Direct each shot. See how your story flows before you create the clips.
Your shot board
0/8 shots / 0 seconds
Arrange your shots, preview the sequence and keep the visual direction in one place.
A story starts with a single frame.
Drop your storyboard images here or add a text shot to sketch the idea first.
JPG, PNG or WebP. Up to 8 images, 10 MB each and 40 MB total. Images stay in this browser tab.
Your board stays available for 30 minutes while you browse this site in the same tab. Reloading clears it.
A sequence needs more than beautiful frames.
Give each shot a different job. These directions apply to the selected shot without replacing its image.
Establish the world
Start wide enough to show where the scene happens. Reserve close details for the next cut.
Camera, action and continuity
Open with a wide establishing shot of the scene in this image. Make a slow, controlled camera move toward the main subject. Keep the weather, lighting, architecture and subject appearance consistent. End before the main action begins.
Move into the detail
A close view can connect two wider shots. Repeat the same material, light direction and visual motif.
Camera, action and continuity
Create a close detail shot of the main subject in this image. Use a very slow lateral camera move and a shallow depth of field. Preserve the subject shape, material and lighting. Keep the movement small and finish on the important detail.
Make the action readable
Give an action a beginning and an ending pose. Split complicated movement across multiple shots.
Camera, action and continuity
Show one clear action in a stable medium shot. Let the subject begin in the pose from this image, perform a single deliberate movement and settle into a readable ending pose. Preserve identity, proportions and the environment. No extra cuts.
Leave room for the ending
A final hold gives the viewer time to register the payoff and gives the editor a usable out point.
Camera, action and continuity
Create a quiet closing shot from this image. Let the main movement finish early, then hold the composition with only subtle environmental motion. Keep the original lighting and colors. End on a stable frame with no sudden change.
How to turn a storyboard into a video plan
Decide the sequence here, create the clips in an available generator, then assemble and add sound in an editor.
Arrange the story beats
Upload sketches, reference photos or finished panels. Start with an opening, a development and an ending. Drag the shots on desktop or use the move buttons on any device.
Write a prompt for each shot
Separate what moves from what stays fixed. Name the camera movement, the subject action and the continuity details. One clear event per shot is easier to direct than a paragraph of competing actions.
Review the rhythm
Set a duration for every shot and play the timed stills. Look for repeated framing, missing information and cuts that arrive too early. The preview helps judge pacing before spending generation credits.
Export and create the clips
Download the shot brief or JSON plan. For an uploaded image, open its direction in Animate Photo. Use your shot plan to guide clip creation, then use a video editor to assemble footage, transitions and audio.
Keep the story connected across cuts.
A storyboard is a plan for consistency. Repeating these details in each prompt makes the plan easier to execute.
Character and wardrobe
Repeat the same identity, clothing, hair and distinctive features. Use a clear reference in each relevant shot rather than relying on a previous prompt to be remembered.
Camera and screen direction
If a subject moves left to right, keep that direction in the next shot unless the change is intentional. Alternate wide, medium and detail shots with a purpose.
Light and environment
Name the time of day, light direction and recurring background elements. A consistent color palette helps separate an intentional scene change from an accidental mismatch.
An exact ending
When composition matters, prepare a first and last frame for an individual shot. Extract a frame from an existing clip to help plan the next scene.
It is a workflow that uses ordered story panels and written shot directions to guide AI video creation. The storyboard defines the sequence; a generator creates the clips, and an editor combines them into a finished video.
Does this tool generate a finished video now?
Build a board, edit shot prompts, reorder panels, set timing and play a still-frame sequence. Export the shot brief or JSON plan to organize your production workflow.
Can I use sketches instead of photographs?
Yes. Upload sketches, drawings, photos or rendered frames as JPG, PNG or WebP. Use readable compositions and describe whether a later generator should preserve the illustration style or interpret the scene differently.
How many panels can I add?
You can make up to 8 shots per board. Each uploaded image can be up to 10 MB and 40 megapixels; all uploaded images together must stay within 40 MB. Each shot can last from 2 to 12 seconds in the preview.
Will my storyboard images be uploaded?
This planning workspace reads images locally in your browser. It does not upload them to a generation provider. The board lasts for 30 minutes during same-tab navigation and is cleared when you reload or close the tab.
How do I keep a character consistent between scenes?
Use matching reference images and repeat specific identity, wardrobe and lighting details in each prompt. Consistency depends on the eventual generator and input quality; a storyboard cannot guarantee identical output across separately generated clips.
Can I download the storyboard as a video?
The current downloads are a text shot brief and a JSON plan. The timed preview is a sequence of still images, not an encoded video. Use your exported plan when creating clips and assembling the final video in an editor.
Can I turn one image into several shots?
Yes. Add a text shot for another camera angle or upload the same reference more than once. Write a different purpose for each shot, such as establishing the setting, following an action and showing a reaction.
Make the next part of your story.
Move between shot planning, precise frame direction and prompts for a particular visual style.